Start Your Motorcycle Using FINE-C

Start Your Motorcycle Using FINE-C

Over the years, I’ve been blessed enough to introduce several friends and family to the world of motorcycling and teaching them how to ride. One thing that I see in common, with almost all new riders, is remembering the starting and cut off process. Lucky for them, the Motorcycle Safety Foundation’s (MSF) FINE-C mnemonic can make it easy to remember.

Use the mnemonic FINE-C when starting your bike up. On the flip side, you can use C-ENIF whenever you need to shut down your vehicle. Over time, as you get more comfortable with your bike, you will remember the steps and it will become second nature to you.

F – stands for FUEL. Some bikes have what’s called a Reserve switch. Make sure that you’re in the regular On position. Due to differences in every bike, I would suggest you review your owner’s manual to learn the specifics for your brand and model.   Some motorcycle have an automatic fuel switch. However, even for those particular models, you must still make sure that you are not in reserve.

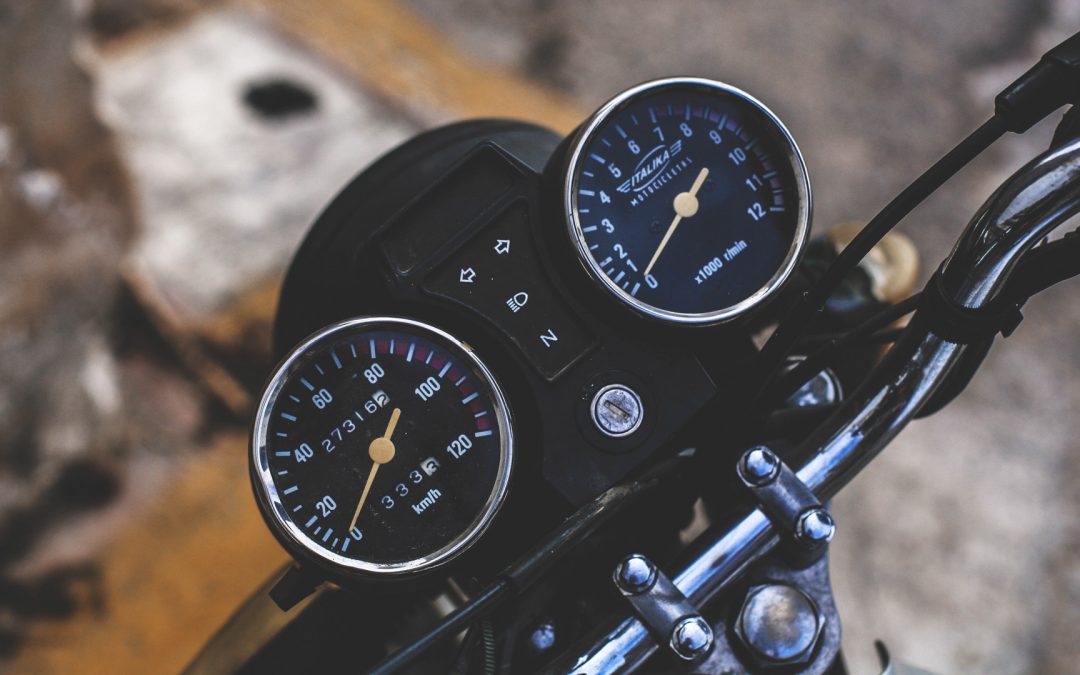
I – stands for IGNITION. Turn your key or key fob on your main ignition switch to the On position.

N – stands for NEUTRAL. Ensure your transmission is in neutral. Use the indicator light, usually on your dashboard, to make sure that your motorcycle’s transmission is in neutral. In addition, when the light is saying you’re in neutral, slightly roll the bike forward a couple of inches. While this is great for verifying that you are in neutral, this also allows you to check that your Neutral Indicator Light is working as expected..

E – stands for ENGINE. Place your Engine Kill Switch into the On position.

C – stands for CHOKE / CLUTCH. Motorcyclists often use the C as a reminder to pull the clutch in before starting a bike. In addition, the C also stands for setting the appropriate choke settings depending on engine temperature. Once again, I defer to your owner’s manual for the specifics of when you should or should not use the choke.

Shutting your bike down for the night is just as simple. You simply reverse the letters (and settings) to shut down your bike.

C – stands for CHOKE / CLUTCH. If your Choke is still on (which it shouldn’t be since your engine is warm), turn the setting to Off. Remember to keep your Clutch fully engaged however since your are still in gear with the engine still on at this point.

E – stands for ENGINE. Flip the Kill Switch to stop the engine. Needless to say, this also tests the functionality of the switch at the same time.

N – stands for NEUTRAL. Put the bike in Neutral. Slightly roll the bike to make sure you’re in the correct gear. If you’re parked on an incline, it is usual okay to leave your bike in gear to prevent it from rolling.

I – stands for IGNITION. Turn your ignition completely off. Make sure you don’t accidently place it in Parking (which will leave your taillights on) guaranteeing a dead battery by the morning.

F – stands for FUEL. Make sure that your Reserve switch is set to use your regular gas supply and not the reserve supply. Check you owner’s manual for the specifics of your brand / model. If your motorcycle has an automatic fuel switch, you’re in luck… just make sure that you are not in reserve mode and you’re good to go.

Smart Tips for Your Next Motorcycle Tour

Smart Tips for Your Next Motorcycle Tour

There’s a certain amount of excitement that goes along with packing for your motorcycle tour. Whether it’s a guided motorcycle tour or an unguided motorcycle tour, a long tour or a short tour, there is nothing like the feeling of finally loading up and heading out after weeks of planning.

Knowing what to bring and what not to bring is no easy decision so we’ve decided to help you out. We’ve asked our team and past tour members for any tidbits that they wished someone had told them when they first started touring. Check out the list below for their answers.


  • Never walk into a hotel and book. Always call or check online (via your phone) and you will almost always get a much better deal than if you negotiated with the front desk in person. Even if you’re calling from the parking lot (don’t tell them that though), you can often negotiate for a better deal by leveraging the fact that you can go somewhere else.
  • Don’t fold but instead roll your clothing. By rolling up your clothing and stacking stuff vertical as much as possible, you’ll be able to fit more items than you can by folding things.
  • Wash with baby detergent. Wash any clothing items with baby detergent (especially t-shirts, socks, and underwear). Baby detergent has additives to reduce the amount of chafing. I use Dreft Stage 1 Laundry Detergent and have been very pleased with the results.
  • Use your toolkit. Do your motorcycle maintenance using the tools inside of your portable toolkit. By doing that, you can adjust your kit to what you’ll actually need in an emergency. The toolkit I use and always carry on my bikes is the metric Stockton Roadside Tool Kit. In my case, I need the metric version but they do have an SAE Stockton Roadside Tool Kit toolkits also available. If you already have the tools but need a good case, I would take I look at Teutonic Tool’s Roll-Up Bag.
  • Practice, practice, practice. While you can do emergency repairs on your bike’s tires on the side of the road, you don’t want that experience to be your first. Practice repairing your tires from the comfort of your garage or driveway. Since I change my own tires, I practice a couple of times on my old tires before swapping for new rubber. This is really important if you have tubed tires as there’s more work involved with those.
  • Fill up when you hit 1/2 tank and always keep an emergency fuel can. This is especially true if you travel a lot in the southwest where you can go a full gas tank before even seeing another gas station. I use the MSR Fuel Bottle. I usually strap it onto the back of my passenger backrest, or I can squeeze it into any extra space inside my saddlebags.
  • Test your rain gear BEFORE your trip. During the middle of a thunderstorm is not the best time to find out your new rain gear, with all the power of Aquaman, diverts the whole Pacific and Atlantic Oceans down your back. Test it before you need it to make sure it works.
  • Invest in some durable saddlebag liners. They will make the process of unloading your bike after a long ride soooooooooooooooooo much easier. Find some that are waterproof with padded handles and you will think it’s the Second Coming of Jesus Christ. Okay, maybe that’s pushing it. You will be happy though. My favorite bags ones are my Hopnel HDKC Kooler Saddlebags.
  • Wear a dogtag with your name, contact info, and basic medical info. If you ever get into an accident in the middle of nowhere, it’ll make the EMT’s job much easier.
  • Follow the 6-1 plan when planning tours. Six days maximum of riding, one day of rest. Your body will thank you for it.
  • Plan your stop wisely. To make the next day of riding easier, when you stop for the night, stop on the far side of the city you’re in. By doing this, you won’t have to worry about excessive traffic the next morning.
  • Keep a spare key. Give it to your riding buddy (and you take his spare). If you’re going solo, hide it somewhere on your bike (zip ties or duct tape can work wonders).
  • Be real with your mileage limits. On twisty backroads, 250 miles is a lot of riding. On that same token, 250 miles on Interstate slab is nothing. Plan your daily limits based on those facts.
  • Buy that shiny new GPS you’ve been eyeballing for months. You probably won’t need it that much but it can be a lifesaver when you’re lost in the middle of the nowhere, with no cell phone reception, 1/8 a tank of gas left, and hungry buzzards flying overhead looking at you.
  • Learn to eat in the off-hours. Schedule your meal stops outside the hours of 8 am, 12 pm, and 6 pm to get in and out with the least amount of rush hour hassles.
  • Keep organized. One thing I learned from the military is organizing. Keep multiple days in order by keeping everything for each day in a separate envelope. Stuff everything related to your trips like maps, notes, hotel reservations, tickets, and more. I use V-Story’s Poly Envelopes and beside them being water-resistant, I can place my route notes on one side and my route map on the other side for easy viewing and quick access during a red light or some other quick stop.
  • Look over your bike every morning. A T-CLOCS inspection takes mere minutes but can keep you safe on the road. You thought T-CLOCS was some famous rapper? Don’t know how to do a T-CLOCS inspection? Check out our blog article on how to properly do a T-CLOCS inspection.
T-CLOCS Isn’t a Rapper… It’s Part of Motorcycle Safety

T-CLOCS Isn’t a Rapper… It’s Part of Motorcycle Safety

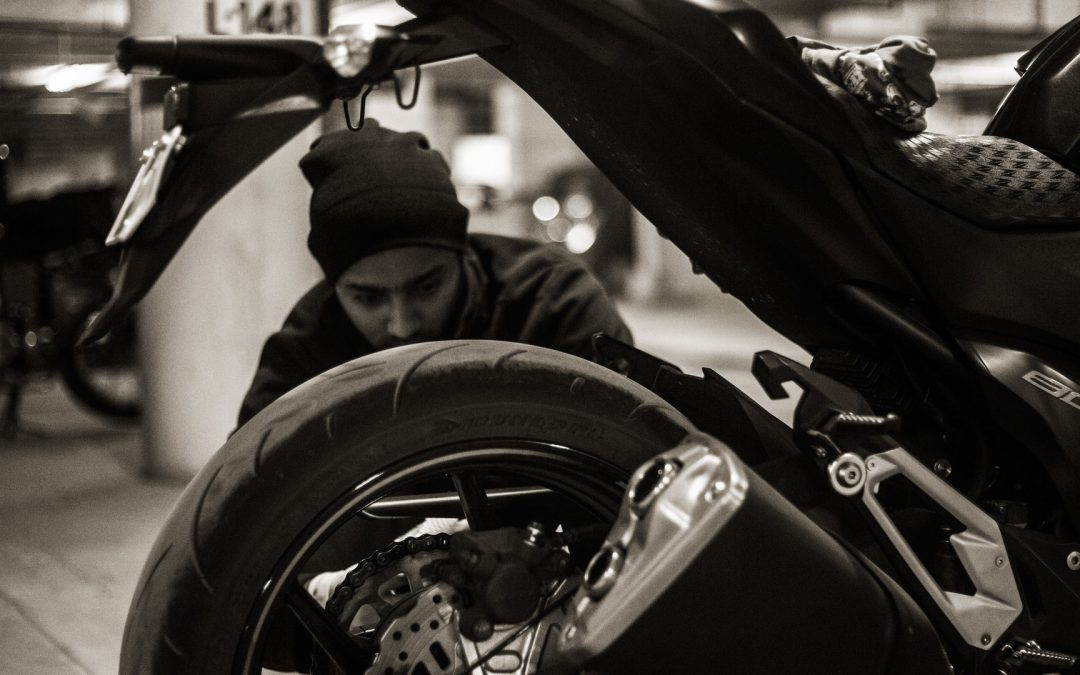
Increase the chances of making every ride a safe ride by incorporating the Motorcycle Safety Foundation’s (MSF) T-CLOCS inspection into every ride. This simple check of a few key components can easily be completed in less than 5 minutes. By doing this every ride, you help ensure the safe operation of your motorcycle plus you can spot minor issues before they become major problems. The T-CLOCS inspection process is attributed to the M.S.F. or Motorcycle Safety Foundation and it stands for Tires, Controls, Lights, Oil, Chassis, and Stands. In addition, most owner’s manuals include a brand / model-specific version of a T-CLOCS inspection. I would highly suggest reading there first to pick up brand/model specific tips.

T – stands for TIRES

Check and make sure that front and rear tires are both inflated to the proper pressures for the situation i.e. carrying a passenger and/or luggage. While checking air pressure,  you also want to measure the tread thickness. Examine the tread surface for any cuts, embedded debris, and other defects. Also, check the sidewalls for unusual cracks or bulges in the rubber. From here you can progress to the rims themselves.For rims that are cast, inspect closely for any cracks or dents. If you have spoked rims, randomly test several of them to check for proper tension. If correctly adjusted, no spokes should be able to move by hand. Grab the whole wheel and try to move it from side to side. Any movement here can indicate a failure in your wheel bearings. Check your front and rear brakes to make sure that everything seems normal and operational. To be able to check pressure and thickness with one tool, I would highly recommend Accutire’s MS-48B Digital Combination Tire Thread Depth Gauge and Tire Pressure Gauge.

C – stands for CONTROLS

The next step is checking your hand and foot controls. You want to make sure that any levers and pedals are undamaged, properly adjusted, and aren’t binding on anything. Check your throttle and clutch cables for smooth operation with no binding. Ensure that there is no wire fraying at any points along the cable. Check brake, ABS, clutch, and any of hydraulic hoses for bulges, leaks, or signs of breaking down and/or deterioration. Open and close your throttle to ensure crisp movement, with no binding, and that it immediately snaps back to a neutral position when released.

L – stands for LIGHTS

Make sure all your lights and electrical components are working. Check your headlamps (both low and high beams), tail and brake lights, as well as your front and rear turn signals. Don’t forget to make sure that your battery is fully charged. My battery (YTX12-BS Sealed iGel Motorcycle Battery) has a battery gauge on top which makes checking the power an easy process.

O – stands for OIL

Your bike’s fluids such as oil and other fluids are usually very easy to check with a quick visual inspection in most cases.. Hydraulic reservoirs for your clutch and/or brakes come with a sight glass opening or they’re made of translucent plastic, which makes the check for fluid levels an easy thing to do. For bikes that are liquid cooled versus air cooled, the overflow tank is made of translucent plastic, so you should be able to easily verify the correct levels with a glance.ant. Glass portholes are also common on the side of oil reservoirs so checking your oil level should be just as simple as the other fluids.

C – stands for CHASSIS

Now take a few moments to inspect the chassis. Rotate the handlebar(s) through their movement fully. They should move freely, with no sticking, and no feel of flat spots in the steering head bearings. With the bike on its center stand or work stand, grasp the fork legs near the axle and try to move them front-to-back. Any play indicates a problem. At the rear, grab the wheel and try to move it side-to-side. Again, any movement indicates a problem, in this case with the swingarm bearings. Check chain tension, lubrication, and alignment, then inspect the rear sprocket teeth for unusual wear. Take the bike off its stand, sit in the saddle and make sure both front and rear suspensions move freely and smoothly.

S- stands for STANDS

Inspect your side stand and/or center stand (if applicable). It should snap crisply back into place with no binding issues. Make sure you check for any cracks or bends that would signal an immediate need for repair. Also check that the stand springs are in good condition and that the unit, as a whole, will safely and securely support your motorcycle.

Read more at the Motorcycle Safety Foundation’s website.